Form - Media Manager
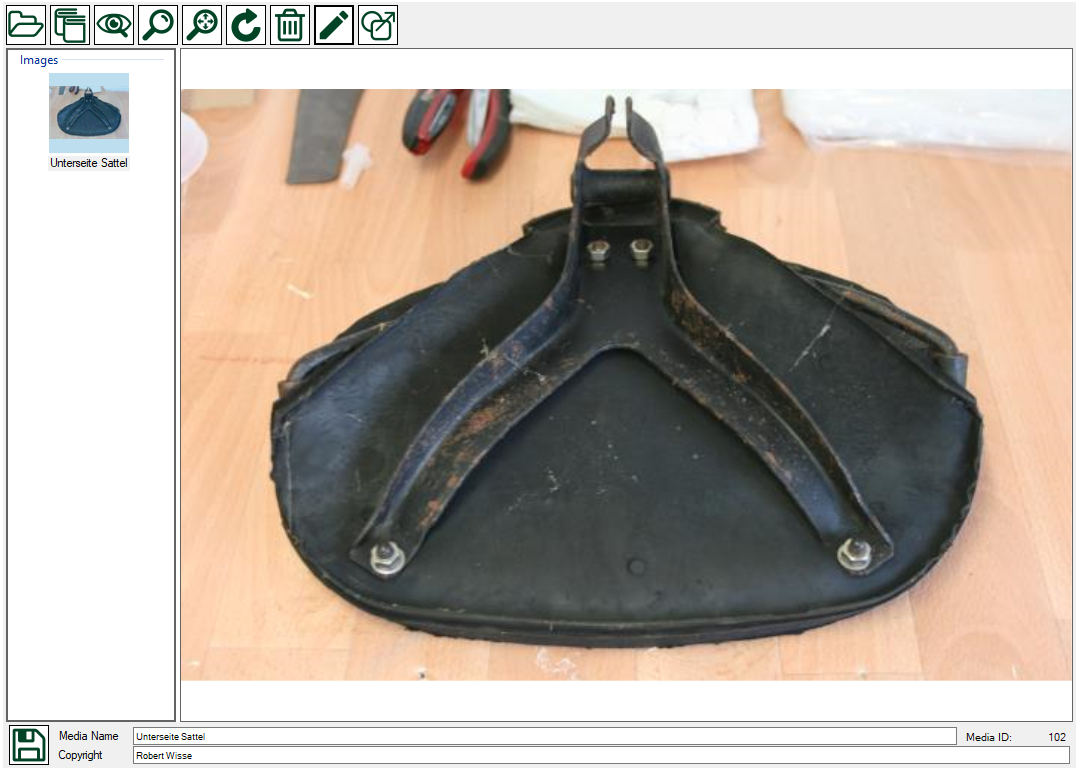
Description
Media can be linked to their data almost anywhere in the program. This is done with the Easy Classics media manager.
Media with the following formats can be processed: JPG, PNG, SVG and GIF for images, MOV, MP3 and MP4 for videos, WAV for audio files and PDF for files.
Each file that is imported receives a unique ID and is saved with this ID. All images are converted to JPG and saved in three different sizes.
In the media library you can view and edit all media. If possible, you should only import a medium only once, this saves a lot of space on the hard disk. You can use one and the same medium in several places in the program via linking.
Example: You have an image that you would like to use as the main image of your classic car, but also add it to the vehicle media and perhaps use it in a vehicle history entry. On first use and if the image has not already been imported, select the image from your hard drive. This is automatically imported and linked to your classic car. Well, if you also want to add the same image to the vehicle media, select the image from the media library. Repeat the same for the history entry.
When importing, Easy Classics warns you if you try to re-import a file that has already been imported.
Depending on where you want to add media, you can add only a single medium or multiple media. For example, you can only add one image as the main image of your classic car, but you can add several media with different types to the vehicle media. You can see whether you can add one or more media by looking at the media list on the left side of the media manager.
Add Media
Media can be added in three different ways:
1.  Via the file system: A window opens in which you can select the directory and one or more files. JPG files are displayed by default, you can change the selection at the bottom right.
2.  Via the media library: The media library is opened, search for and select the appropriate medium there.
3.  Automatically via the scan input directory: This type of media selection is special and intended for importing multiple media one after the other. This is helpful if, for example, you are taking several pictures with your camera and want to import them all while shooting.
Draw objects or add annotations
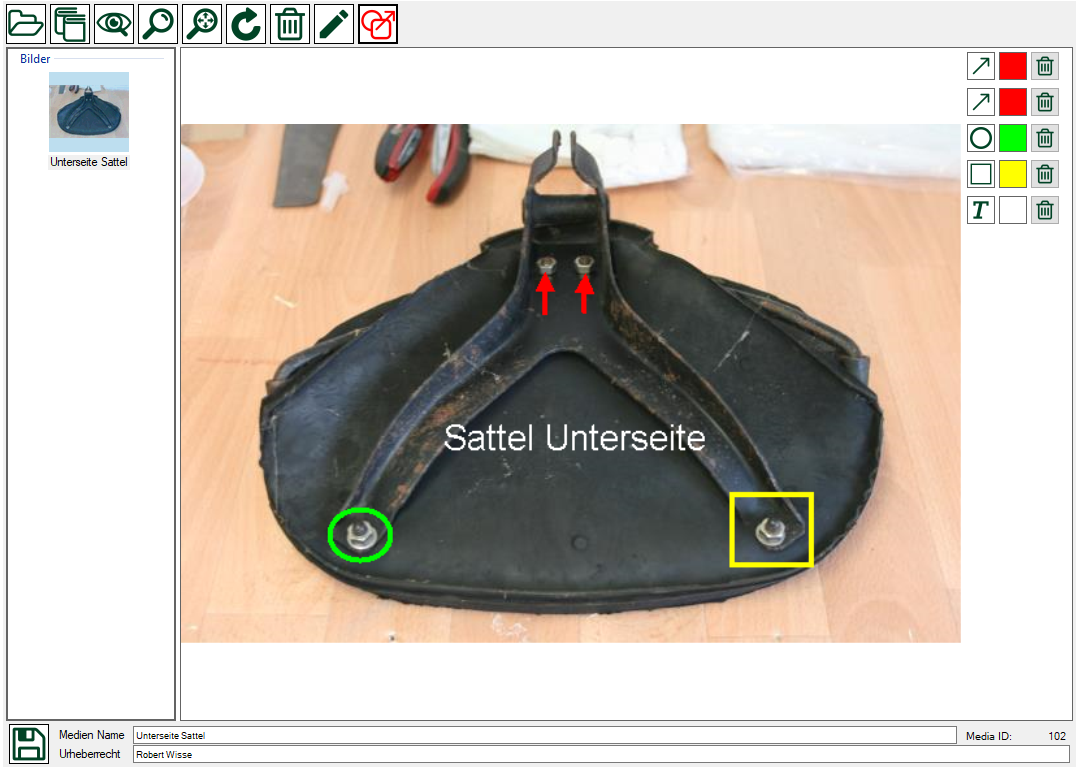
With image media, you can add annotations to the image in the form of drawing objects and text. This is useful when you want to emphasize certain parts of an image.
You can show or hide the character menu with

Define colors: Colors determine the lines of an arrow, rectangle, circle or the text color of a text. On the far left you can use the quick selection to select predefined colors immediately. If you want a different color, you have to click on the colored square, the Windows color selection opens there.
Line width: In addition to the color selection, you can specify how wide the lines should be drawn for arrows, rectangles and circles. Specify the character size for text when selecting the font.
Drawing object selection: Choose between arrow, rectangle, circle or text. The active object selection is marked in red. The text attributes (font, text input, auto-increment) are only displayed when text is selected.
Drawing and deleting arrows, rectangles and circles: Click with the mouse on the place in the picture where you want to start, keep the mouse button pressed and drag the mouse to the end point. Now release the mouse button. Other objects are hidden while drawing. An entry appears for each object at the top right next to the image. To delete an object, click on one of the entries, the object will be marked. Then click on  to delete the object.
If there is at least one object in the image, the icon  will appear. This allows you to show or hide all objects.
Adding texts: You can enter the type of text (font, size, bold etc.) with the button The selection is shown next to it. For the input you have a text input field on the left and next to it a smaller input field for numbers or letters. Next to it is a checkbox <<Automatically increase>>.
Simple texts: Enter the text in the left input field. Click anywhere in the image and hold down the mouse button. Now, while holding down the mouse button, move the mouse to the position where you want to place the text. Release the mouse button.
Numbering: If you want to number several places in the image, you can do this very easily. You can use either a combination of text and number (screw 1...), a combination of text and letter (screw A...), just a number (1) or just a letter (A or a) as numbering. Enter the text in the left input field and the number or letter in the right input field and ensure that the checkbox is selected. Now add as many entries as you like as described above. Numbers are incremented from the input number 1, 2, 3... Letters are incremented in alphabetical order A, B, C... or a, b, c... or AA, AB, AC... or Z, AA, AB...
Menue
|
Choose a file | Add medium via file selection |
|
Open Media manager | Add medium via selection from the media library |
|
Scan input directory | Add media via scan input directory |
 |
Display medium in seperate form | Opens the medium in a separate window for the maximum size |
 |
Turn on or off zooming and positioning | Turns on or off zooming in, zooming out and positioning for images. |
 |
Rotate | Rotates the image 90 degrees clockwise |
|
Delete | Deletes a medium or deletes the link |
|
Draw objects | Turns on or off the additional menu for drawing objects on an image. |
|
Show or hide objects | If there are objects on an image, they can be shown or hidden. |
 |
Save | Saves the entries for avoid name and copyright |
Objekte Zeichnen Menü
| Draw arrow | Enables arrow drawing | |
 |
Draw rectangle | Enables drawing of rectangles |
 |
Draw circle | Enables circle drawing |
 |
Add text | Shows or hides the inputs for entering text. |
|
Enter font | Opens the window for selecting and defining the character set |
Daten
| Column | Data type | Description |
| Media ID | Gesperrt | The unique ID of this medium |
| Medien Name | Text | The name or description of the medium |
| Copyright | Text | Media copyright owner |